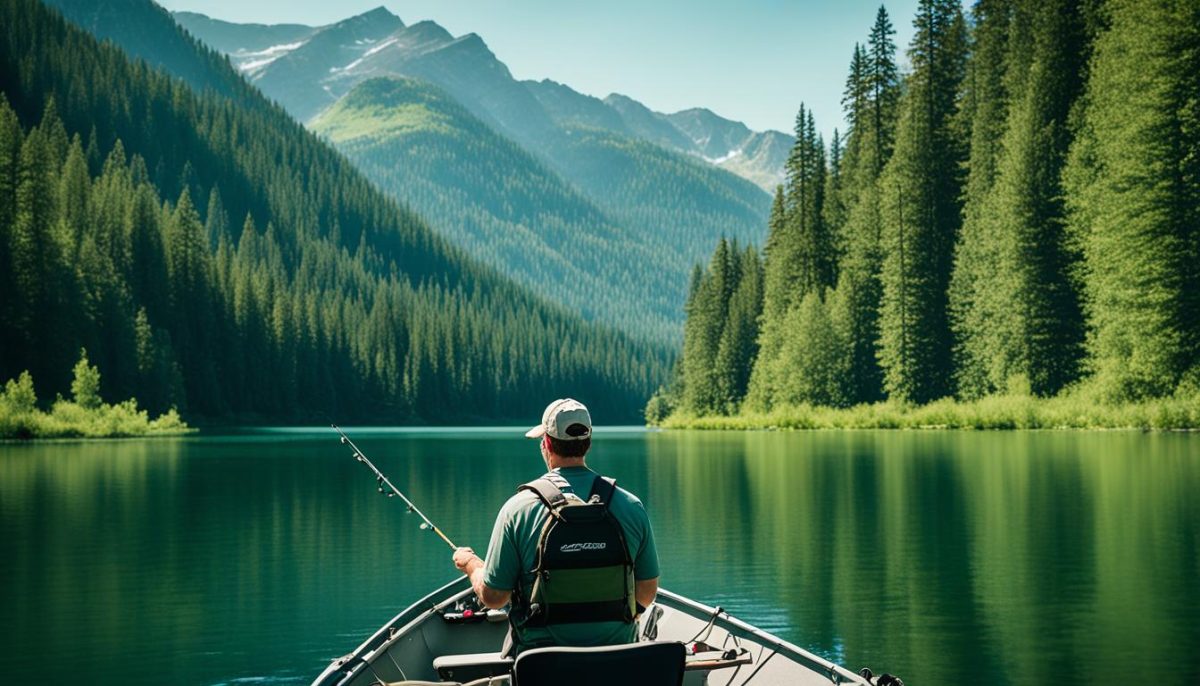
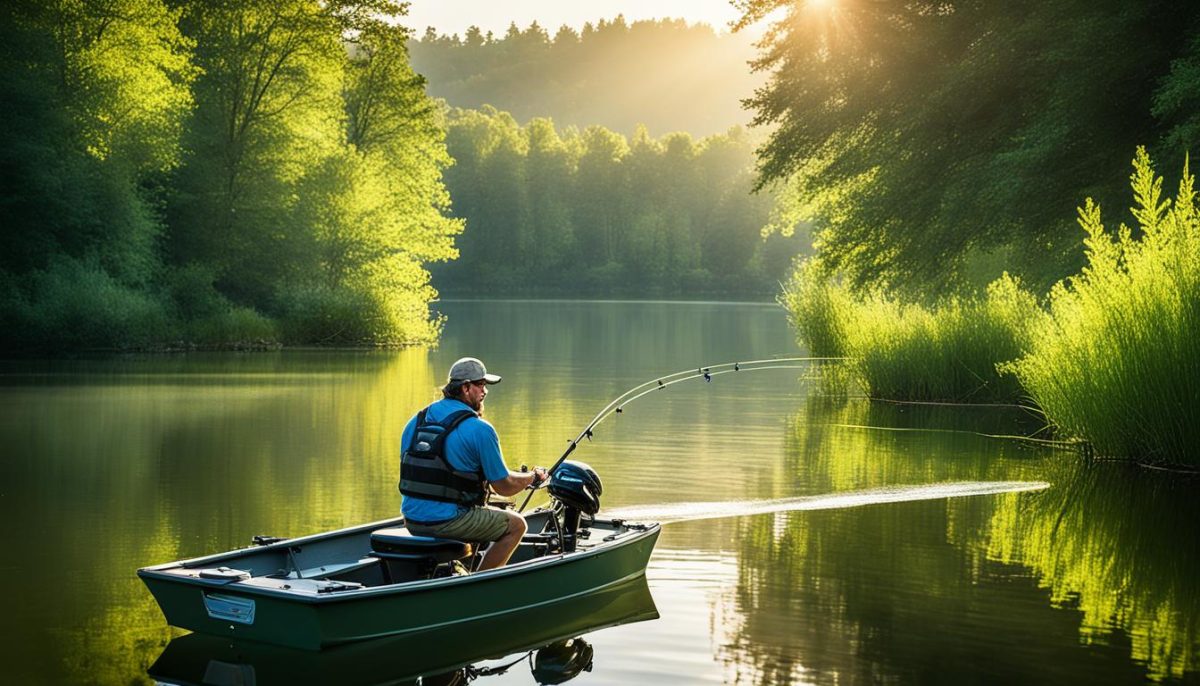
>
Building the Right Bait Well
By
Capt. Charlie Walker
There are so many different brands of manufactured bait wells on the market today that it
seems to be quite an exercise in frustration to want to build your own. Unless, of
course;(1) you just can't afford a ready-made well right now, (2) you can't find one that
will fit the space on your boat, (3) you haven't seen one that is the right color, (4) you
don't subscribe to any fishing magazines with advertisements for bait well manufacturers,
(5) you live so far out in the boondocks that you have never heard of any mega-stores that
carry such things as bait wells, (6) fill in your own reason. Whatever the reason that you
still want to build your own well, I will try to give you some hints on keeping your bait
alive that I have learned in thirty years of live bait fishing. Many of the tricks and
techniques in keeping bait alive are best learned through experience, and will vary
depending upon where you live and the type of bait with which you most often fish. Save
yourself some headaches, though, by answering these questions before dashing off to the
hardware store for parts.
1: How big a well can I carry (or, do I need
or, will fit safely in my boat)?
2: How will I supply water to it? (Don't forget, any water you put in has to
go somewhere - other than into your boat)
3: What kinds of baits do I intend to use? If youre unsure, check our baitfish
profiles.
4: What materials should I use to build it?
5: What will it cost to build it?
6: What will it cost to buy a factory-built one?
7: Does the difference in cost justify the potential aggravation of building my own?

Fish need oxygen to breathe
All right, youve done the math and decided that its the home-built route for
you. If youre going to do it, heres how to do it right.
The first and probably most important thing to keep in mind about your bait is that in
order to survive long enough for a big fish to eat it, it needs to have a very good flow
of clean, fresh salt water through the well. This means that if you are going to use a
pump to supply the water to your well, don't skimp on the size of the pump. If you are
going to build a small well of six gallons or so, then you are not going to carry many
baits or you are just going to use shrimp or crabs. The volume of water needed for this
arrangement can be poured into the well by hand every few minutes. However, if you are
going to make a well of fifteen gallons or more, then you will need to supply fresh water
to that well in some seemingly large quantities. A quick caution note: Water weighs over 8
pounds per gallon. Carrying a well of this size is like adding another person to your boat
Please keep in mind your vessels rated capacity and dont overload it. Your
boat will also handle differently when the bait tank is full.
I feel that you should plan to change 100% of the water in your well at least 20 times per
hour. That means that if your well is twenty gallons, then you will need at least a 400
gallon per hour pump. Sound big? Believe me, its not. You are going to cram as many
baitfish into your well as you think you will need for your day of fishing. Sometimes that
means several hundred little fish that you have to keep alive and kicking. They are going
to be losing scales, eliminating bodily solids and fluids(polluting their water), swimming
around like crazy, and in general going into a state of shock. They are going to need a
lot of fresh, highly oxygenated water to continue breathing! Whitebait and Spanish
sardines, the so-called "magic bullets" favored by flats guides, are notorious
for going belly-up in a hurry without a lot of turnover in the well. Remember that 400
gallon per hour pump? I'll bet that by now youve decided a 600 gallon per hour pump
would be even better. Not a bad idea. Even if you have to save for another week or two to
make up the difference in price, you will find that it is well worth it. A transom-mount
pump will suit most applications. Kodiak and Rule make good ones, complete with mounting
bracket. Follow package directions - theyre not tough to install yourself. Another
great option, probably the best in my opinion, is a unit manufactured by KeepAlive, Inc. called a
"KeepAlive" system. This product allows your system to be "closed"
when necessary, with no water turnover needed. Also, the "KeepAlive" system
produces an extremely soft stream of water from the pump so that your bait is not beat to
death by too hard a stream of water in the well. More about this later.

KeepAlive Portable KeepAlive Recirculating Kit
Now that you have reached a decision about the size of the well, what
shape should it be? When it comes to bait well shape, please remember that there should be
no square corners anywhere in the well. So much for using that old cooler as your bait
well - sorry about that. Most bait species will swim around in a circle when placed in
your bait tank. If you have a rectangular box for a well, then those bait fish that swim
constantly will end up with bloody noses and missing scales from running into the corners
all the time. Some species will even die (quickly) from the stress of piling into the
corners of the well. Whitebait and threadfins are good examples. A battered, bloody bait
is not what you want to present to your quarry species. Many game fish will not eat a bait
that looks sick - such as with a red nose, missing scales or bloody eyes. This means the
best shape for your well is oval or round. What has this shape? Look at "Rubbermaid
Brute" garbage cans or check out the price of a fiberglass brine tank at your local
water softener company. Both of these make a good well, as will the poly-tanks sold in
many mail order fishing catalogs. If you don't want to buy any of these and think that you
can build it cheaper out of plywood, then have at it, but don't forget - NO SQUARE
CORNERS. No, you don't have to bend the plywood in a circle, but you will have to fill in
the corners with something to cut the corner angle from 90 degrees to 45 degrees - enough
to let the bait swim in a circle. Don't just try to use a piece of corner molding, rather
fill the corners in to a depth of at least three inches. Better yet - spring for a trash
can or brine tank.
OK, now you have the dimensions of your well drawn out on paper. You are drawing a plan,
aren't you? Now you need to figure out where your plumbing will run to and from the well,
and also how it will run through your boat. Take your time with this, especially if
youre going to be drilling holes in your boat for plumbing. I have seen small wells
that have a pipe run above the water line with holes drilled in it to aerate the water as
it adds it to the well. This arrangement is all right in small wells with low water
volumes but it is inadequate for larger wells or in areas where the water temperature gets
very warm, like Florida. You can use this aeration pipe to supplement the wells
oxygen content but you still need a primary water supply into the well. The supply should
come from near the bottom of the well so that all the water is mixed and turned over the
twenty times per hour that I mentioned before. A good pre-manufactured well has its water
inlet molded into the side of the tank with slits cut the entire height of the tank to
create a soft, circular flow of water throughout the entire well. This is the best
arrangement that Ive seen.
If you want to attempt to duplicate this you will need to install a water feed pipe from
the bottom of the well to the top with holes or slits to allow water flow. You should then
cover the pipe with fiberglass to keep the inside of the tank smooth and obstruction free.
Why? Remember about the horrible things that happen to baitfish when they bash into the
corner? The same things happen when they bash into plumbing fittings that are sticking
into the tank. Another way to avoid exposed plumbing is to use a through-hull inlet scoop
mounted through the side of your tank at the bottom. This will serve well as the water
inlet. Depending on the size of your well and pump, you may need more than one scoop. Be
sure the scoop has a weed guard attached so the bait cannot swim into it and block your
water flow. Whichever method you use, keep the interior of the tank as free of protruding
hardware as possible.
Consider installing a PVC ball valve between the pump and the tank inlet. Besides allowing
you to adjust water flow, it makes removing the well any easy task, which comes in handy
when youre just out for a ride with the family and friends and need the space.
Remember this also: when youre moving, the transom mount pump is designed to pick up
water - even when its turned off. If you remove the well and dont have a ball
valve between boat and pump - you and your guests may end up soggy. Same rule applies when
Helpful Uncle Fred tries to turn on the radio and switches on the bait well pump by
mistake. Simply close the valve - and remove the clamp on the bait well side of the inlet
hose. Use stainless clamps on all the hose fittings.
There is one other reason, an even more important fact for the life of your bait, to have
a shut off valve on the water inlet. In salt water, we get what is called red tide in the
late summer and fall. We also run into some sweetwater (fresh water) in the rivers in my
area. Muddy water is common in the shallow bay areas and radical water temperature changes
occur when running from deep water to shallow flats areas as well. All of these things can
over-stress your bait and even kill it very quickly. Here's where a good recirculating
system is worth its weight in gold. If you fill your bait well with water from the area
where you catch it, then close the water inlet so the "KeepAlive" pump is
recirculating and aerating the water, your bait will stay healthy and happy for several
hours before you need to change the water by re-opening the inlet valve.This is great for
those times when you're running through water you'd rather not expose your bait to - like
patches of red tide. You can fill your well from pillar to post with sardines and this
system will keep your bait alive and happy - with no need to constantly pump in water.
Now that youre pumping water into the tank, the next step is to remove the water
that youre putting in. You should mount your drain hoses at the top of the well to
skim off the surface water, which is usually the warmest and dirtiest water. If you have a
one inch hose coming in to your well, then you will need at least two inches of outlet
hose to remove the water. Why the size difference? Youre pumping the water in under
pressure, remember? The drain is only moving water by gravity, with no pressure behind it,
so you need considerably more diameter to move the water out. Swimming pool vacuum hose on
the outlet side will generally fit the bill nicely for 5/8 - 3/4 inch hose on the inlet
side. The drain line must go "downhill." Sounds pretty obvious, but I once had
someone ask me to look at his well because it kept overflowing. The drain hose ran over
the top of the transom and the top of the well was eight inches below the transom. Oops.
Make sure that you cover the outlet holes with a screen or grate so the bait can't block
them and cause overflows. Kodiak makes an outstanding plastic grate that can be mounted
with screws to a through-hull fitting with a barb connector for the drain line. Better
yet, consider buying a complete bait well plumbing kit - KeepAlive and Kodiak make
excellent ones. This includes a drain screen, inlet fitting, outlet fitting and drain
valve. Keep Alive also packages a pump with their kit, giving you virtually everything you
need for the simplest installation. This is a highly recommended purchase, since it can be
the dickens to hunt down the individual parts - and "KeepAlive" comes with a
great set of instructions for "building your own." Install the through-hull
fitting for the drain line at the height you want the water level to be in the tank. Leave
ample room for sloshing to occur without splashing water out of the tank. This will vary
according to the design of your tank, but 2/3 - 3/4 the total tank height is probably in
the ballpark.

Another handy item is a tank drain valve, which is a small drain plug very near the bottom
of the well. At the end of the days fishing, you dont want to have to tip the
tank over to empty it - nor do you want to leave the water in the bait well. A couple
well-chosen PVC fittings (1/2 double male; 1/2 male-slip ell) with a PVC cap on the
outside of the tank should work fine - remember to keep interior plumbing as low-profile
as possible. Above all, take your time, drill the right size holes with the right bit and
seal all connections well with something like 5200 marine sealant, made by 3M corporation.
A leaking bait well is not a pleasant fishing companion. Close attention to detail now
will pay great dividends when youre bouncing around in four foot seas.
The last item is a good, tight fitting lid. You don't want it to blow off when you are
running. Also you should secure your well to the deck of the boat to keep it from sliding
around. It could really ruin your day to be rocking around in heavy seas and have several
hundred pounds of water come crashing into you. Remember what we said earlier - the larger
your well, the more it will weigh when its full of water. That can really affect
your fuel mileage and the way your boat handles and performs.
By now, you should have a few variables to consider when planning your new bait well. I
unfortunately had to stay pretty general with my recommendations due to space
considerations. If I can help with any specific problems or questions, feel free to drop
me an E-mail. It is sometimes easier to buy a pre-manufactured well, but if you think
youve got the talent and the tools, by all means give it a try. Good luck and good
fishing.
Wishing everyone tight lines and frisky live bait,
Capt. Charlie
Back to Articles